Jeep Restoration
(February 10, 2010)While it was a little quiet over the Christmas period and the bad weather that ensued, my friend asked if he could use a quiet corner of the workshop to do repairs to the body tub on his 1943 Willys Jeep. , so we pulled it in with the idea that he would do the work and I'd just weld it up for him.
The work that was undertaken was to repair properly some bodged repairs that the previous owner had done. The work is ongoing at the moment and although a little "off topic" for a motorcycle repair shop, I think you will find it interesting.
Basically, it needed the floor in the front of it replacing as it had had a lot of small repairs in the past and they were showing through the filler, there was quite a lot of rot on the offside of the body tub, the side step was corroded , there was also a lot of holes in the offside that had been drilled in the past. The rear of the tub also looked like it was attacked with a hammer so will also need something doing with it. Most of the strengthening braces under the tub had suffered as originally they had a piece of wood inserted when the tub was built and over the years the wood held water and swelled up, forcing a ridge in the floor across both the front and rear sections, as well as this, there had been some repair sections welded directly over the rotted braces, so we will remove them and fabricate some new ones, anyway, heres some pictures of where we're up to.
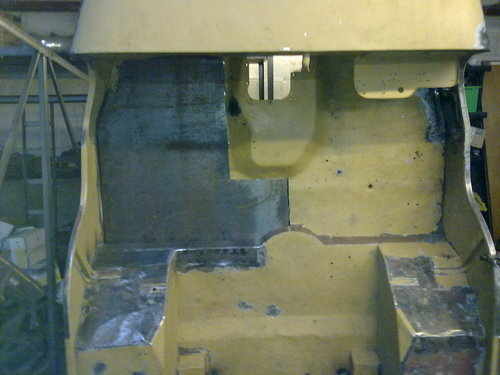
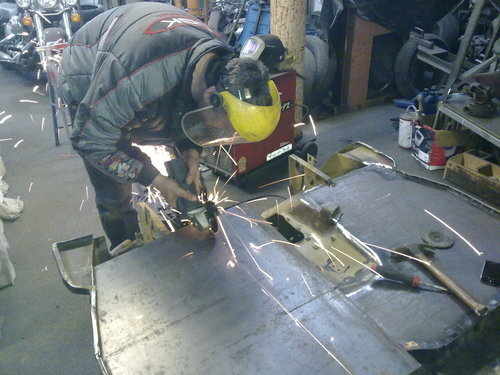
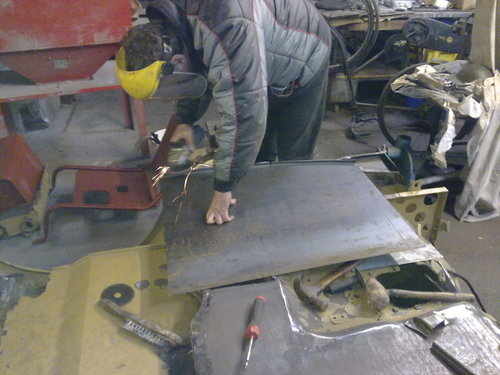
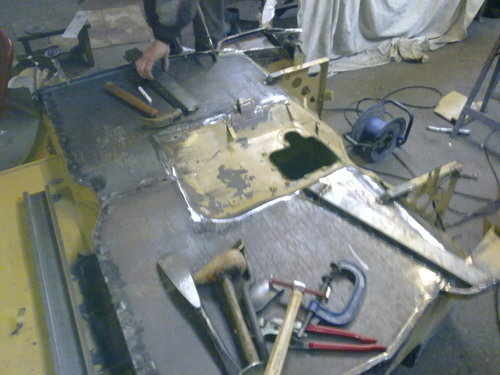
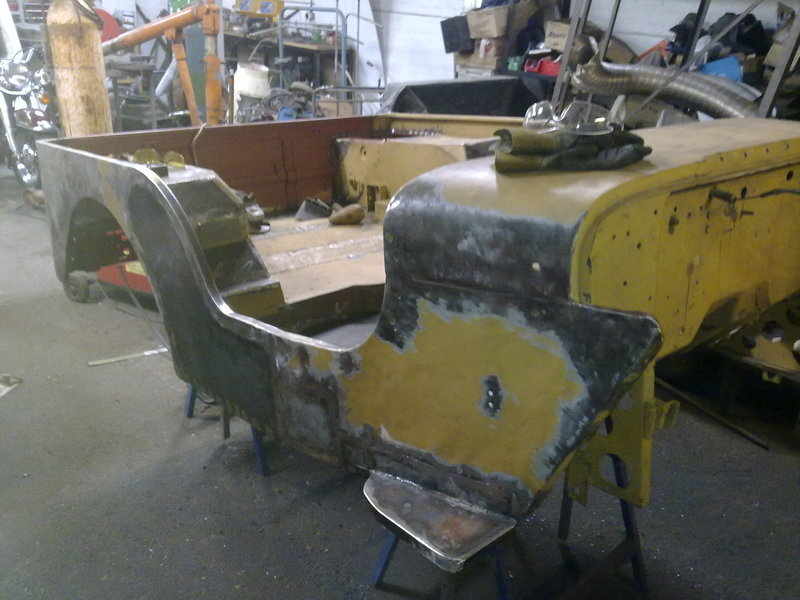
This is the floor section on the drivers side, we're doing it in two sections as one sheet of that size would be hard to handle and cut accurately and would be hard to fold the edges on both sides at the same time and keep everything true, as you can see we have repaired a small section on the front edge of the rear floor, along with a whole section of the cross member between the front and rear floors.
As you can see the floor is shaped ready to be welded into place, you may just be able to see the remains of the badly repaired strengthener, which we will replace as soon as the floor is welded in.
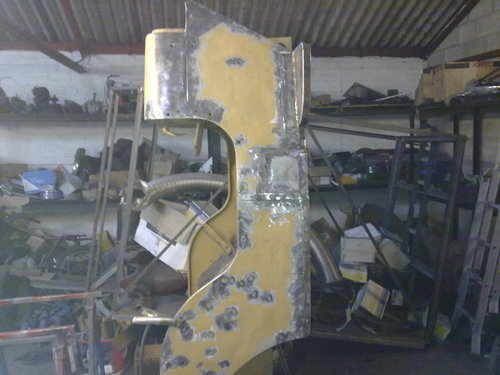
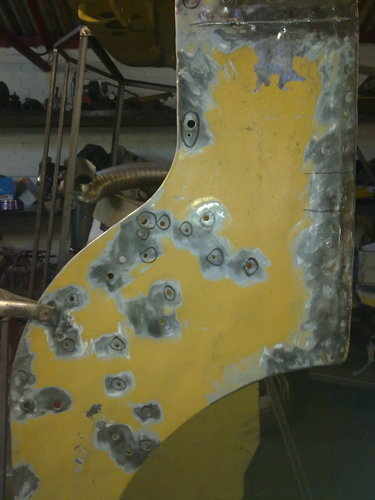
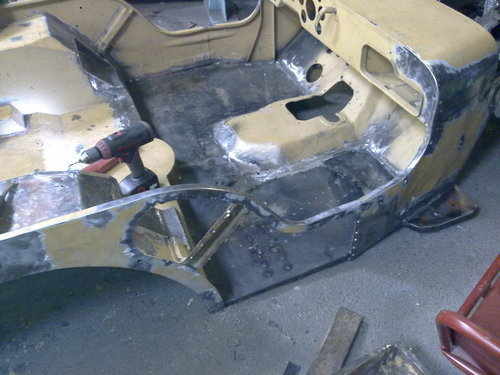
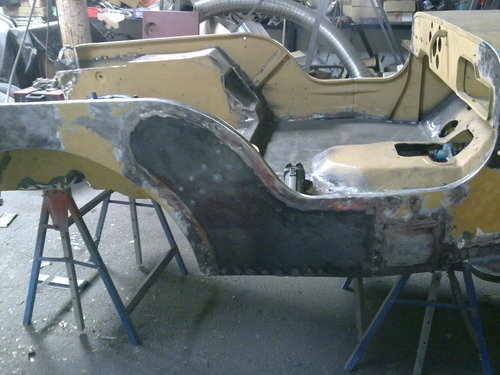
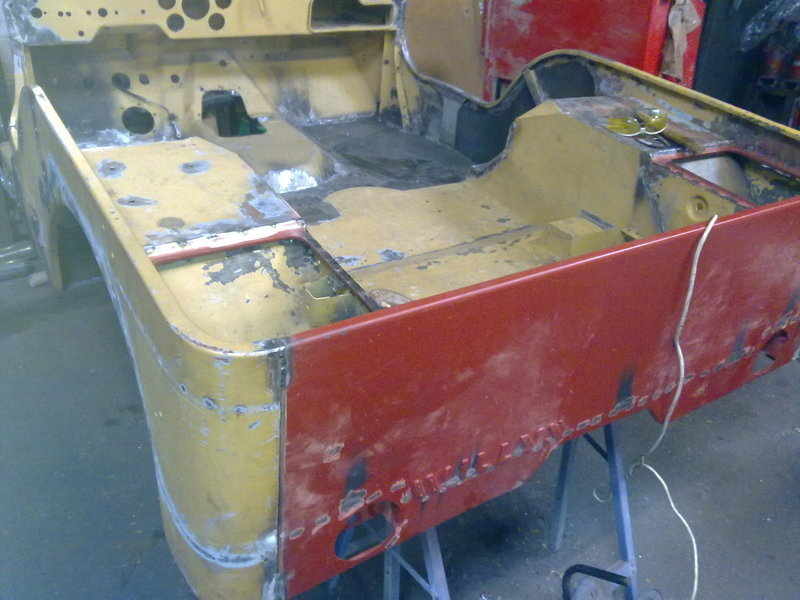
You can see the amount of mounting holes that have been drilled over the years, we were going to fill in all of them, but as you see the inside of the body too, we decided that we will cut the whole section out and weld in a new section. We have already done a patch on the side and you may also see that the side step has been fabricated as it was badly bent and twisted
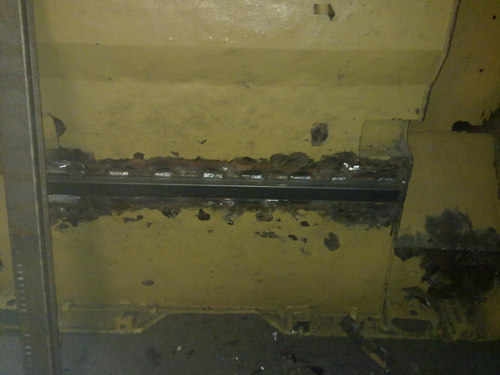
This is one of the strengtheners that we've already replaced. As you can see the floor is pretty battered too, but it quite solid, one idea is that we may just skin over the existing rear floor as it would be quite hard to replace it all, especially as we've already done a small repair on it. Re skinning it would be an easy way to make it look smooth without too much hard work as the original floor is solid, it just looks untidy.
I'll post more pictures as soon as more work is done.
I got round to welding in the first half of the floor today, the biggest problem was sorting out the plate that had been previously been welded over the original floor, I found the end of it 5/8" further along from where my plate stopped (damn!), but fortunately the bit it was covering was solid, so I simply ground it off I was hoping that I'd cut it all out, but this bit was hiding, but at least I sorted it out! I hope you like what I've done so far.
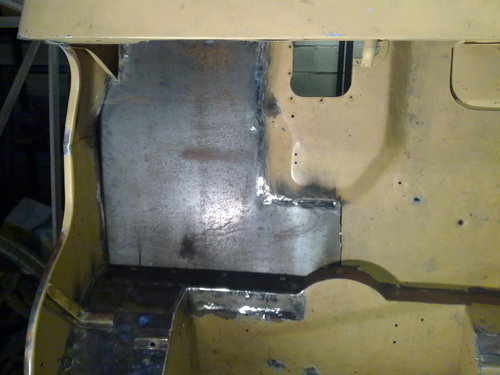
All that remains on this side of the floor is to weld on the strengthener that we had made, but unfortunately it wasn't quite the correct size, so I've just hung it on for the photo.
Then comes the technical bit, cutting out the floor for the recess for the petrol tank and getting the mounting holes in the right places.
As with all projects, it has grown arms and legs! There is now a new back panel to fit, and cut outs for the seats to sit further back to accomodate a 6ft plus driver.
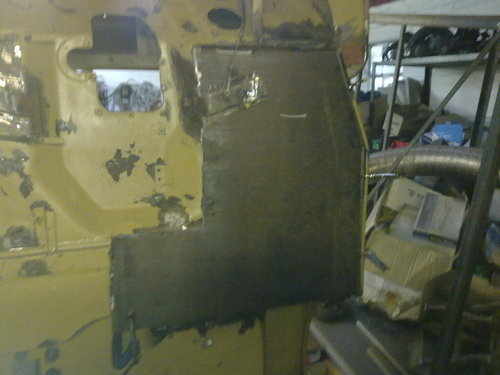
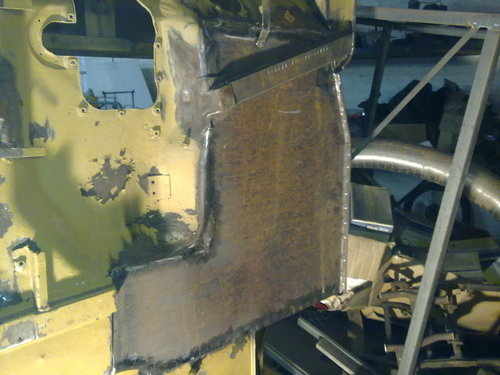
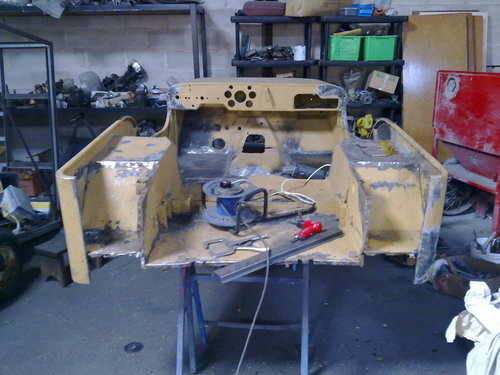
Here are the latest pics of the recesses, the completed floor and the patch put in to sort out the holes on the side.
When it came to remove the back panel , it revealed the rotten lip that it was spot welded onto originally and this entailed replacing the lip across the floor as there was vey little to weld the back panel back onto, then all the other lips had to be straightened out as they distorted when we broke the spot welds and from the previous dents that were on the back panel.
When the back panel was removed it allowed us to sort out the bottom of the toolboxes that were badly repaired in the past and at the same time it gave us chance to straighten out the floor edge again as when the panel was removed the whole of the back of the body relaxed into as it was no longer supported. Fitting the rear panel was relatively straightforward, I just had to check the panel's fit at each join and tack it before continuing with the main welding.
Here is one of the finished body
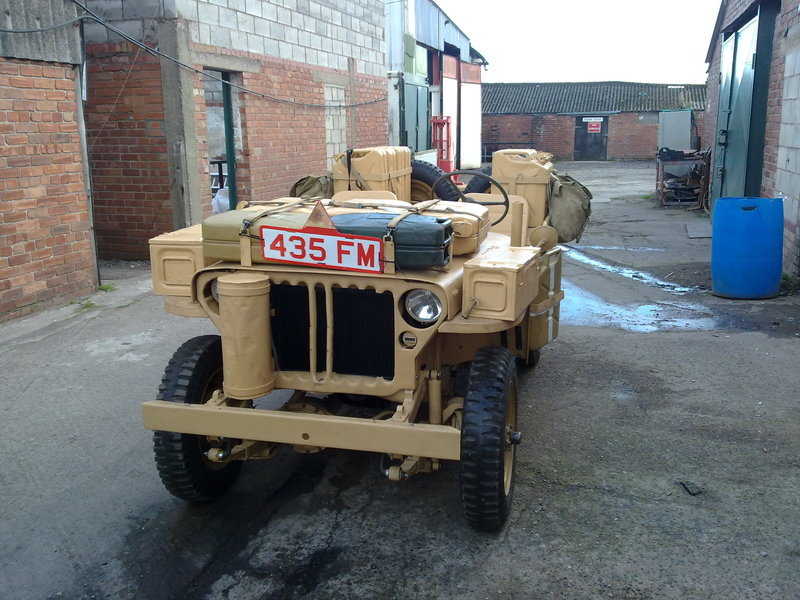
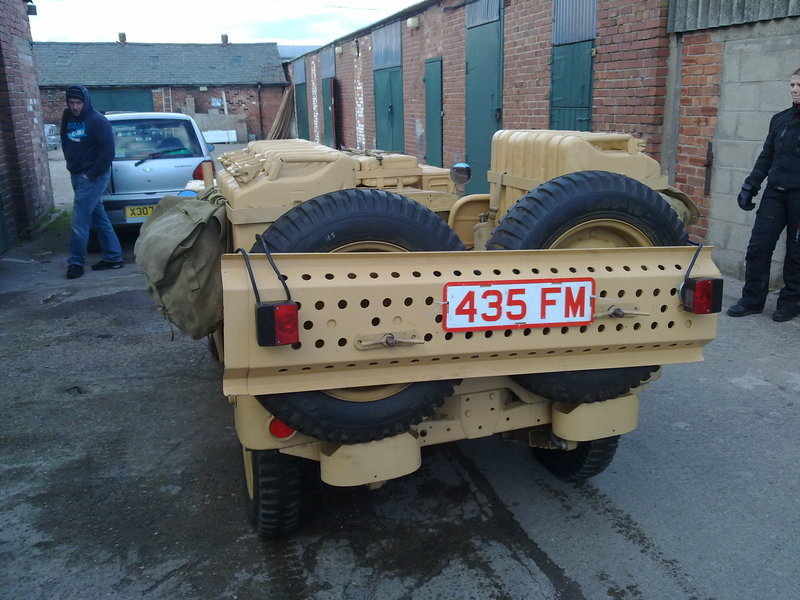
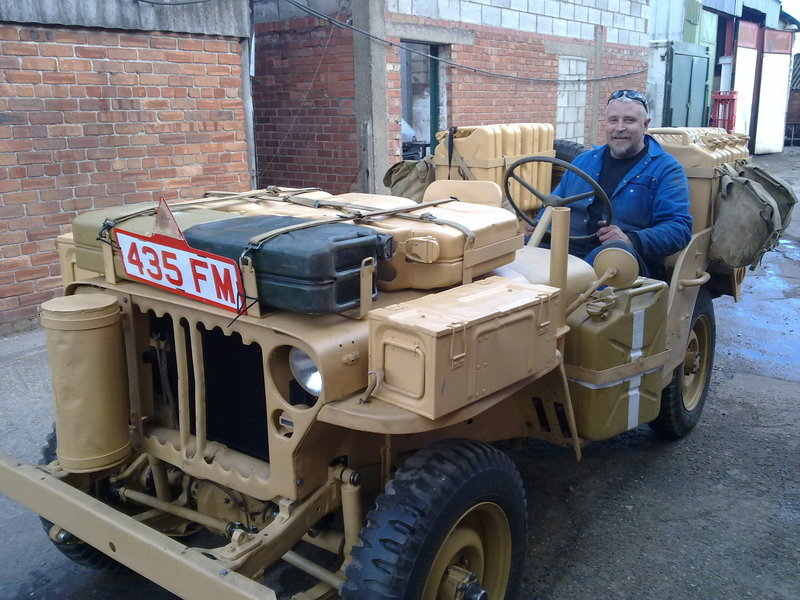
UPDATE ! The Jeep is now finished
I think it has turned out really nice, quite different from the usual olive drab ones. It has uprated springs so it sits higher than a standard Jeep, this was a common modification on LRDG Jeeps due to the extra weights carried in fuel and water, not forgetting the 4 Vickers K guns and the ammunition. This one has the Vickers, but they aren't shown on the pictures, as he had just called in to show me it on his way back from the MOT test. I think the tester would feel a little intimidated if he arrived with them fitted!!
Heres the pictures